
Thanks to you, we are celebrating our 25th anniversarywww.treeofhopefoundation.pk Founding Festival
www.treeofhopefoundation.pk
For more informationHere


 Pick up at the store
(Free shipping)
Pickup store:
Choose a shop
Estimated delivery time:
Order by
1pm → Prepare by 5pm
5pm → Prepare by The next morning
 Delivery
Estimated delivery time:
Delivery is scheduled for around 2026/01/20.
Cash on delivery is limited to credit or cash on delivery. For other payment methods, please refer to here.
*It may take some time for the product to be delivered on January Wednesday, or public holidays, and depending on stock availability.
Regarding same-day shipping conditions
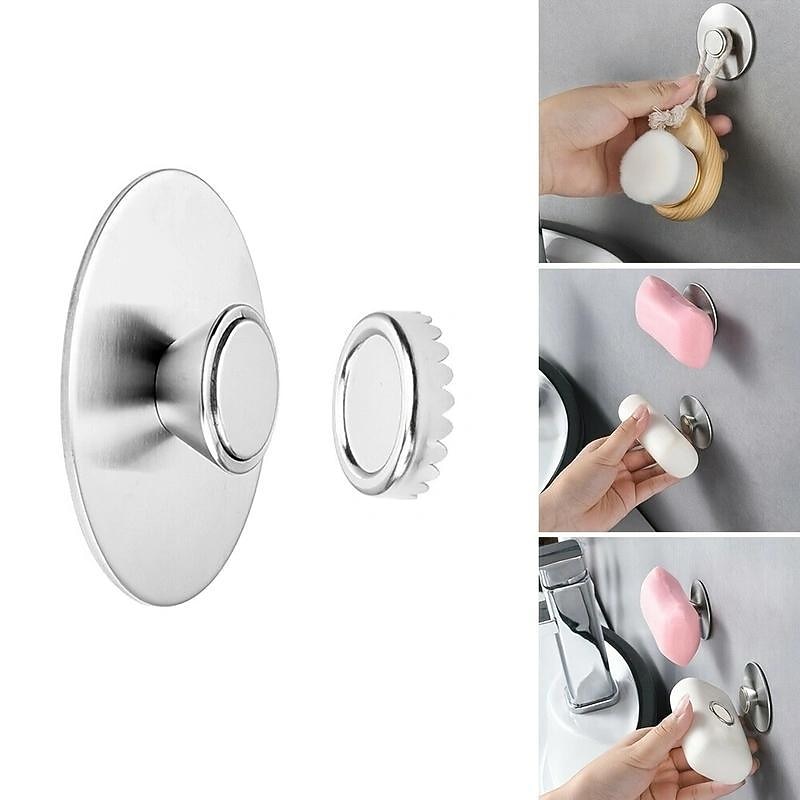
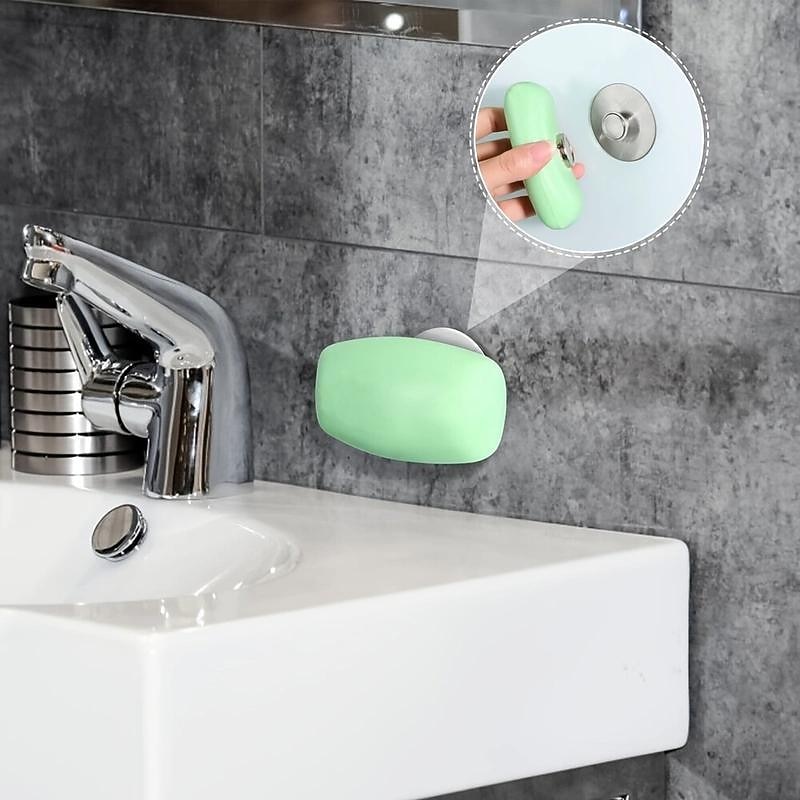
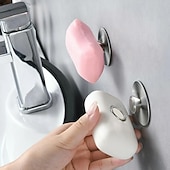
Magnetic Soap Holder Self Draining,Bar Soap Holder for Shower Wall, Stainless Steel Soap Savers for Bar Soap, Kitchen/Bathroom Soap Dishes, Easy Clean Soap Holders for Shower
More information about Magnetic Soap Holder Self Draining,Bar Soap Holder for Shower Wall, Stainless Steel Soap Savers for Bar Soap, Kitchen/Bathroom Soap Dishes, Easy Clean Soap Holders for Shower
Highlights
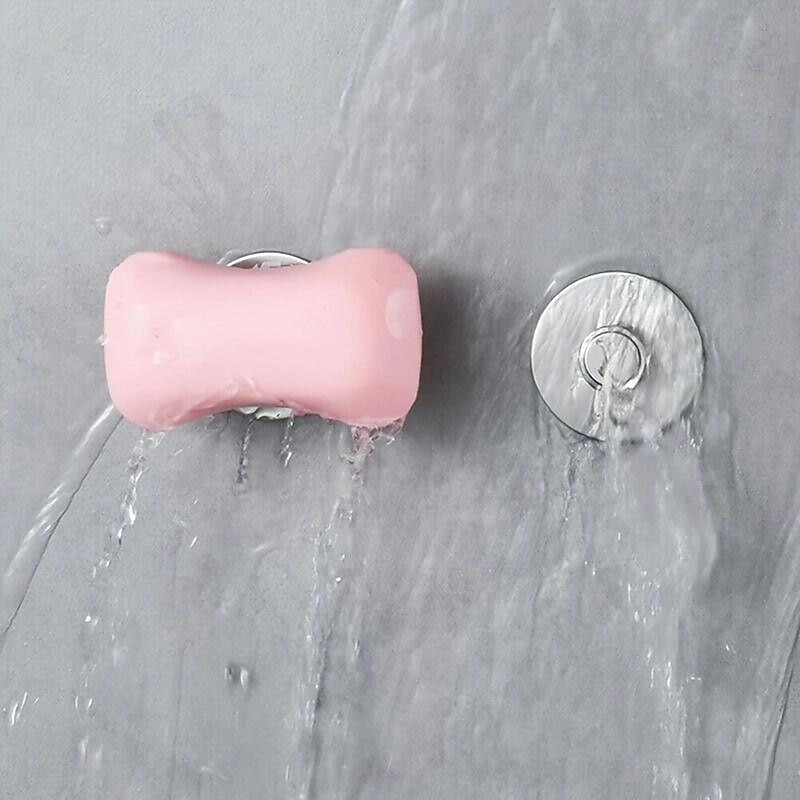
1. Magnetic Soap Holder Self Draining:
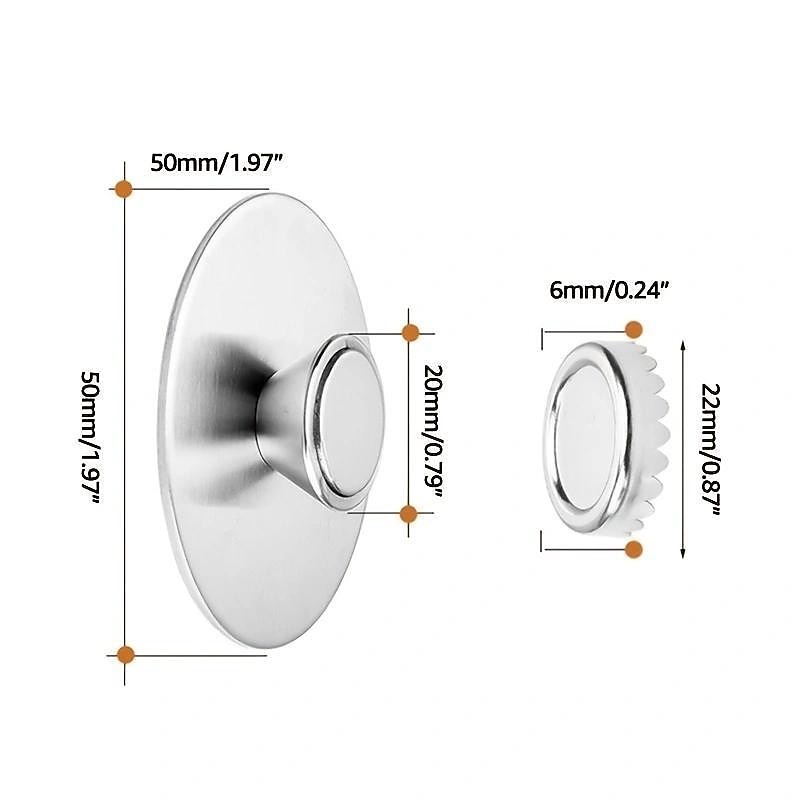
- Simple and beautiful shape, easy to use, save space
- Adhesive tape, simple and beautiful, not easy to fall off
- Stainless steel material, no rust, long service life
- Can be placed sideways or hung in alcoves
- Designed to be drainable to prevent soap damage
- Non-destructive installation, does not damage the wall
- Suitable for glass, mirror surface, paint surface, ceramic tile, frosted glass, antique brick, etc.
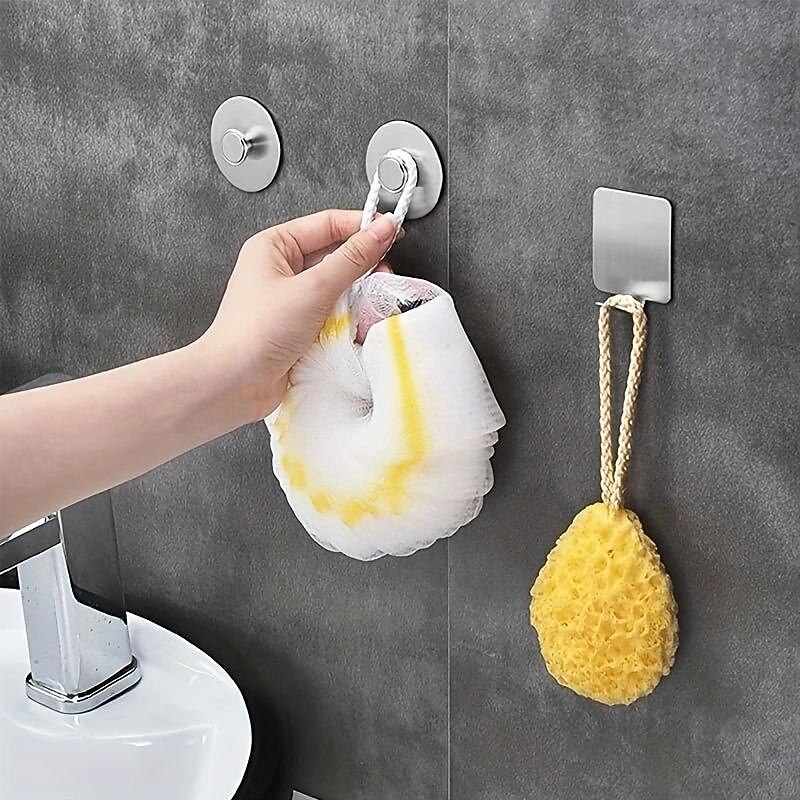
2. Adhesive tape, Can Bear Up to 2kg Weight:
- Adhesive tape with excellent load-bearing performance, can hold a maximum weight of 2kg, fully meets normal use needs, no need to worry about soap falling off.
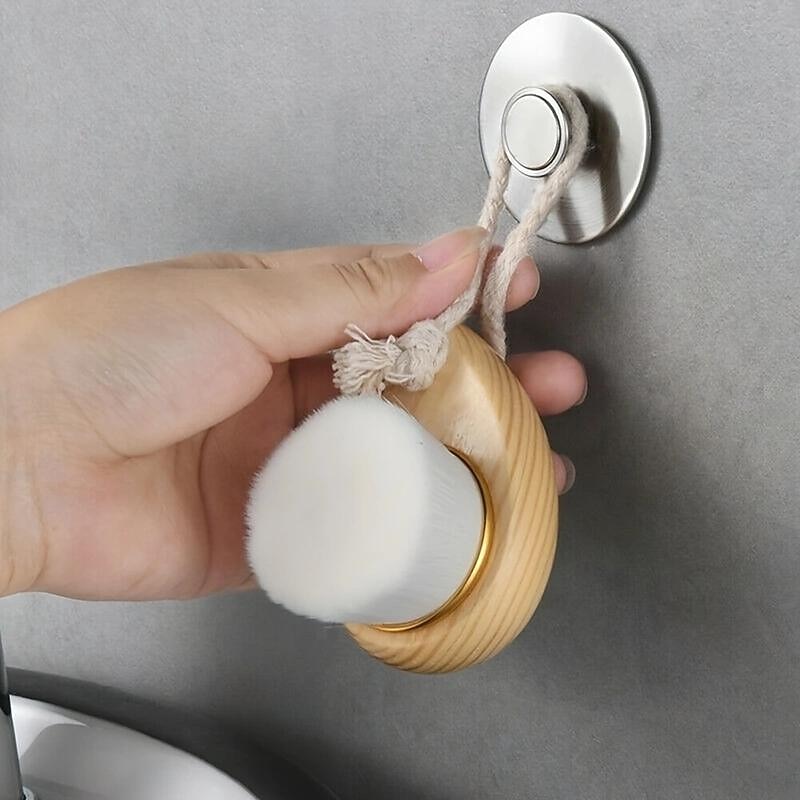
- Multifunctional design - can also be used as a hook, providing dual functionality.
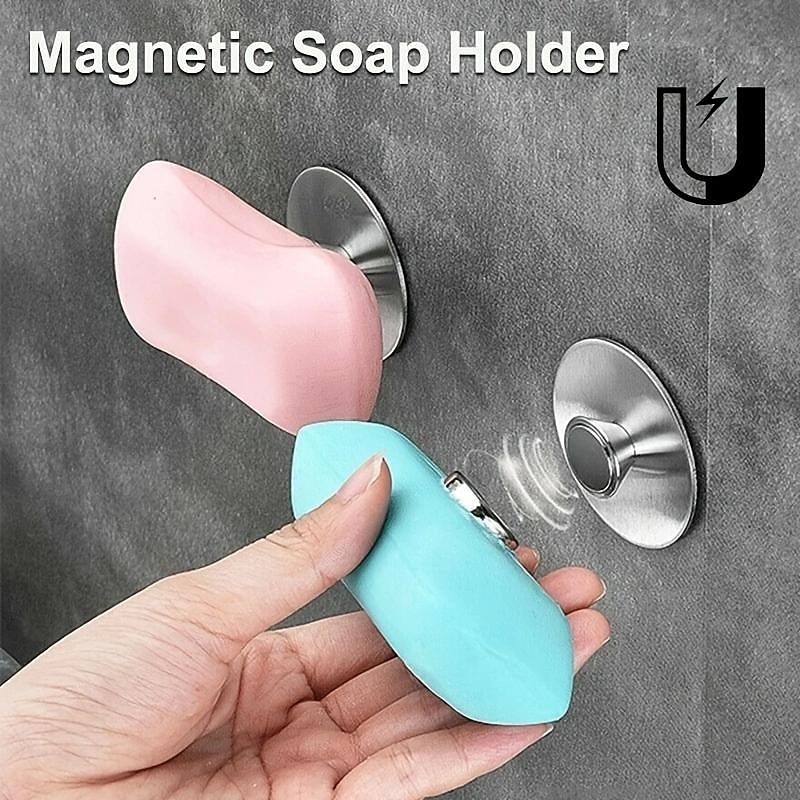
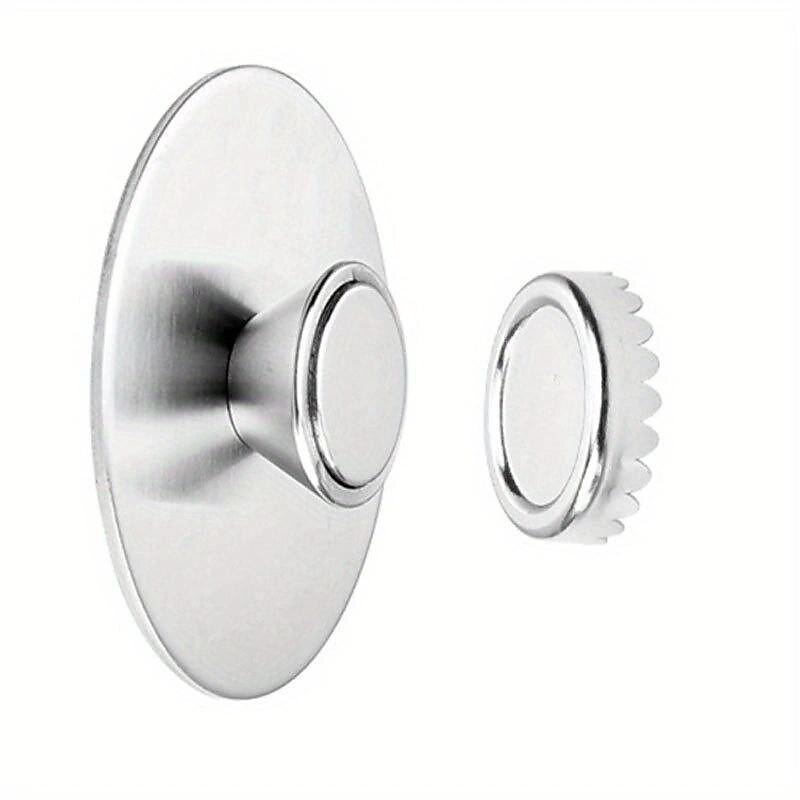
3. Super Magnetic Soap Holder:
- Stainless steel shell, hygienic use, no rust
- Built-in powerful magnet with strong suction, can hold up to 2kg weight
- After multiple adjustments and designs, the magnetic force provides the best experience
- Easy soap replacement, simply replace with a new soap
- Experience soap suspended in the air sensation!
4. How to Use?
- Step 1: Clean the wall.
- Step 2: Tear off the back of the adhesive.
- Step 3: Firmly press the chassis against the wall to fix it.
- Step 4: Press the magnetic buckle into the back of the soap.
- Step 5: Align the magnetic buckle with the magnet and secure it.
- Step 6: After installation, easily take it wherever you go.

Search for products in the same category
Bestseller ranking
-
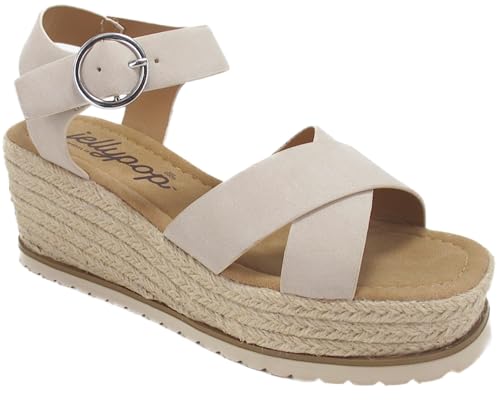 Jellypop Women's Cameo Espadrille Wedge Sandals
 -
 11 Pack Brainerd Circus 1-1/4 in Heirloom Silver Round Traditional Cabinet Knob
 -
 Alice + Olivia Alice and Olivia ★ Dress
 -
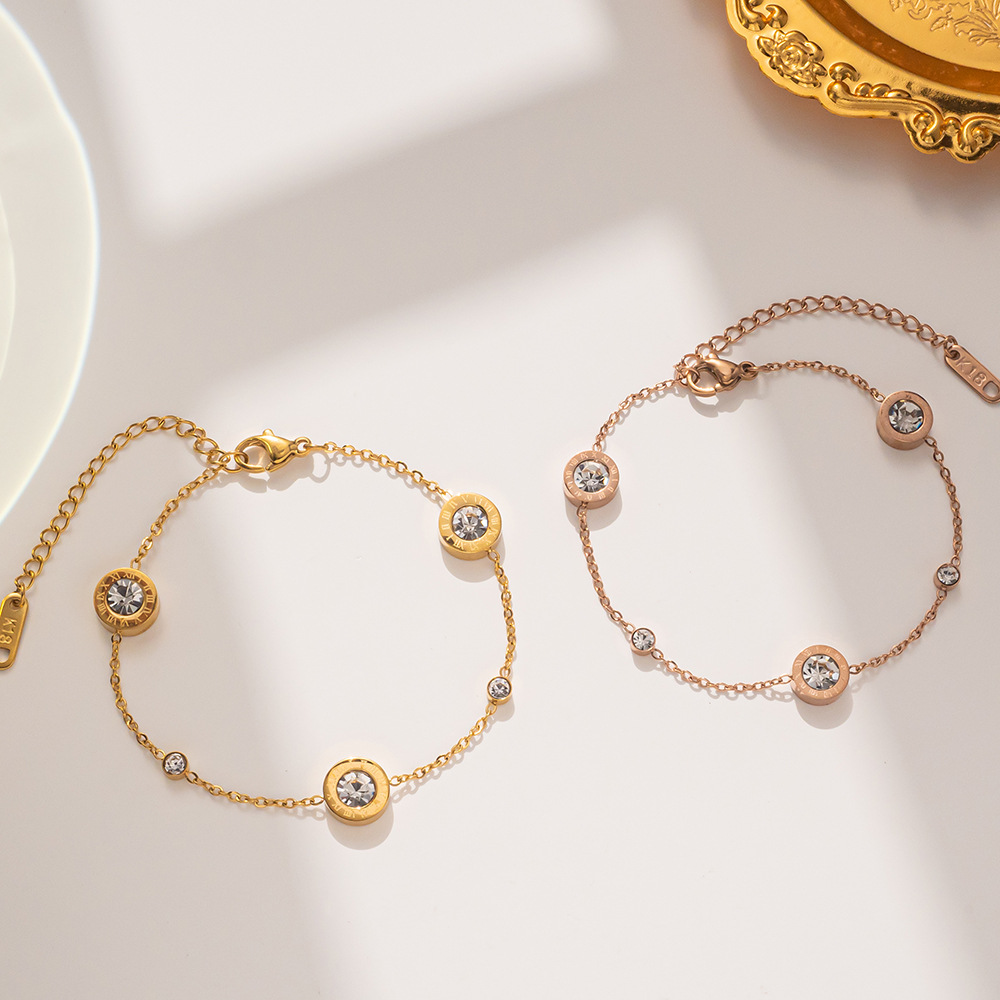
 LIFETIME JEWELRY Filigree Bracelet for Women and Men 24k Real Gold Plated Charm
 -
 Identity V Photographer Joseph Desaulniers White Day Can Badge
People who viewed this product also viewed these products
-
 My Store Stock: 62tax included$ 26.23
 -
 My Store Stock: 99tax included$ 20
 -
 My Store Stock: 77tax included$ 21.99
 -
 My Store Stock: 98tax included$ 15.98
 -
 My Store Stock: 54tax included$ 12.33
Products from nearby sales areas
-
 My Store Stock: 439tax included$ 48
 -
 My Store Stock: 768tax included$ 114
 -
 My Store Stock: 645tax included$ 25.29
 -
 My Store Stock: 175tax included$ 19.99
 -
 My Store Stock: 880tax included$ 12.95
Customer reviews
Recommendation level 4.5
Currently, 170 reviews have been posted.